Photo Tips
Story and photography by Charlie Morey, with Los Angeles Zoo photographers Tad Motoyama and Jamie Pham
Basic Photo Tips
Patience
Animals, just like people, have their ups and downs. On any given day, you may see your favorite critter performing like a thespian on stage, or you may not see it at all! So, when you go looking for photos, go with the flow. Explore and discover which animals are “on” at the moment and turn your attention toward them.
Weather
Think a bright, sunny day is best for zoo photography? Not necessarily. You’ll notice that most animals seek shade when they’re on display, and hot weather doesn’t make any of us particularly energetic. Overcast days with their cool, soft light also provide more detail because the camera can capture the entire spectrum of visible light. Bright sunlight has a much wider range of tones—the highlights are brighter and the shadows are darker—so your sunny-day images will have much more contrast and typically suffer when highlights are overexposed to pure white or shadows are underexposed to black.
Timing
Animals are likely to move in almost any direction at almost any time. Learn to anticipate them, so when the perfect picture falls into place, you’re ready to press the shutter release button. You’ll also find that weekdays are less crowded than weekends, and moving around to get the best angle is much easier if you aren’t caught in a shoulder-to-shoulder mob.
Flash
Surprisingly, using a flash doesn’t bother the animals. Flash can open up the shadows (minimizing the sunny-day exposure problems described above), and in certain situations it can provide enough light to make picture-taking possible. When taking pictures through glass, place the front of your lens against the glass and then shield it with your hand, as necessary, to avoid reflections.
Composition
Take your time when composing the image in your viewfinder. Look at all four edges of the frame and then arrange the subject and its environment into a pleasing composition. One of the rules often used by professionals is the Rule of Thirds. Divide the frame into thirds, both vertically and horizontally. That creates four intersections where the lines cross. Place your primary subject on one of those intersections, and odds are good that you’ll be pleased with the results.
Advanced Photo Tips
Zoom In
If your goal is to capture animal images that appear natural (i.e., not taken in a zoo), you’ll need to omit most of the environment. That’s most easily done by hanging a telephoto lens on your SLR (single-lens reflex) camera and zooming in tight enough to include only the animal itself.
If you’re buying your first long lens, we recommend a zoom in the 70-200mm, 70-300mm or 80-400mm range.
Brace Up
One of the first things you’ll discover about your long lens is that it’s much harder to hold it steady. Most of the animal enclosures have some sort of wall where you can brace your elbows, and if possible hold the camera itself against something solid. If you’re not close to anything solid to brace against, try this: Place your left hand under the lens, palm up. Grip the right edge of the camera with your right hand, and then hold both elbows solidly against your chest. Control your breathing—take several breaths and then release the last one about halfway. Very gently squeeze the shutter release button (don’t poke it) until it clicks.
ISO Speeds
Long lenses typically aren’t as “fast” as short ones (they allow less light to pass through), so to get good depth of field while maintaining a fast enough shutter speed to avoid blur due to camera movement, you may want to increase the ISO rating on your digital camera or film.
It’s not uncommon to shoot at ISO 400 or even 800. Although there will be increased noise in your digital images, it can be minimized in post-production to produce a good quality image.
Shooting Through Glass or Wire Enclosures
Many of the animal enclosures are fitted with wire mesh or transparent glass-like material, and both can present a challenge to photographers.
You can actually shoot through the wire with a long lens if the animal is farther away from the wire than you are. You may have to focus manually, and don’t use a small aperture that could bring the wire into focus. With the transparent material, your primary problems are dirt, distortions, and reflections.
Either place the front of the lens against the glass or try to line up your shot so that the reflected area is dark. Watch for a few moments, and you’ll see if people moving in the background affects the reflections in your viewfinder.
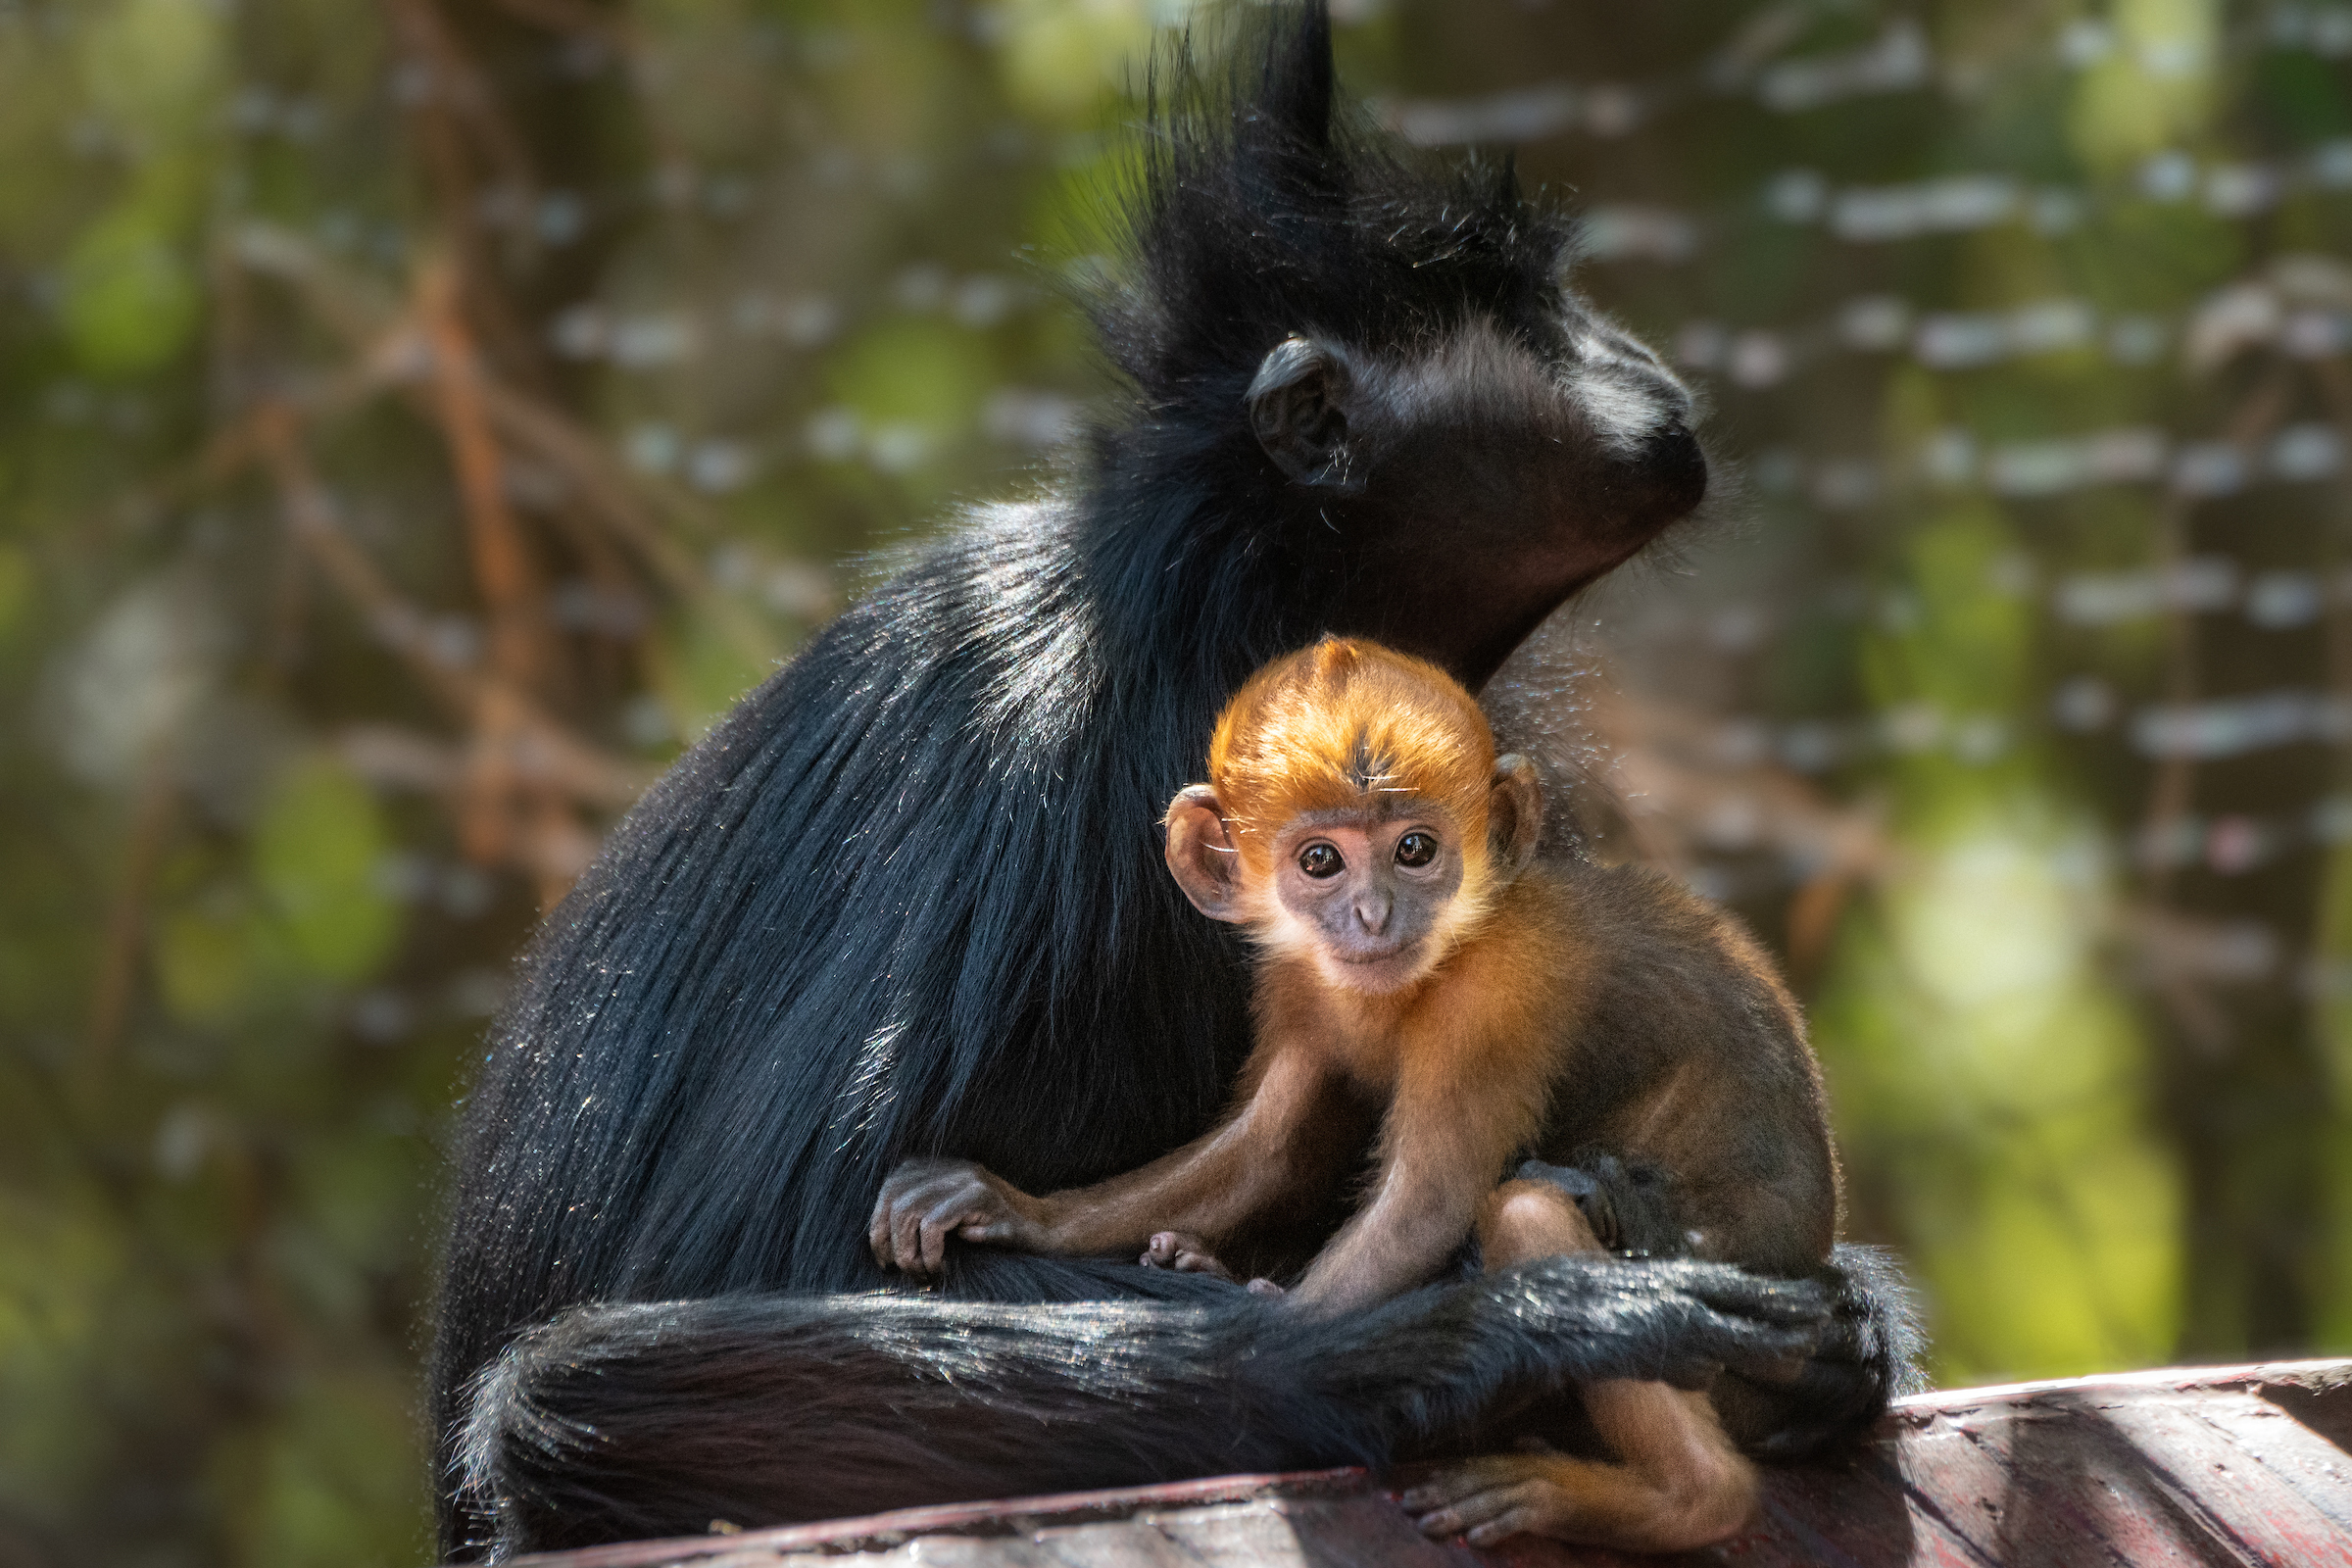
Seasons
Spring is an amazing time at the Zoo. New offspring are bouncing around the enclosures, exploring their environment, and interacting with their parents and extended family. Photographers seeking great photo opportunities will find them all over the Zoo!
Please check the website regularly for updates to our animal collection. Practice is key to developing your technique, and wonderful opportunities abound for great pictures at the Zoo. Good luck!